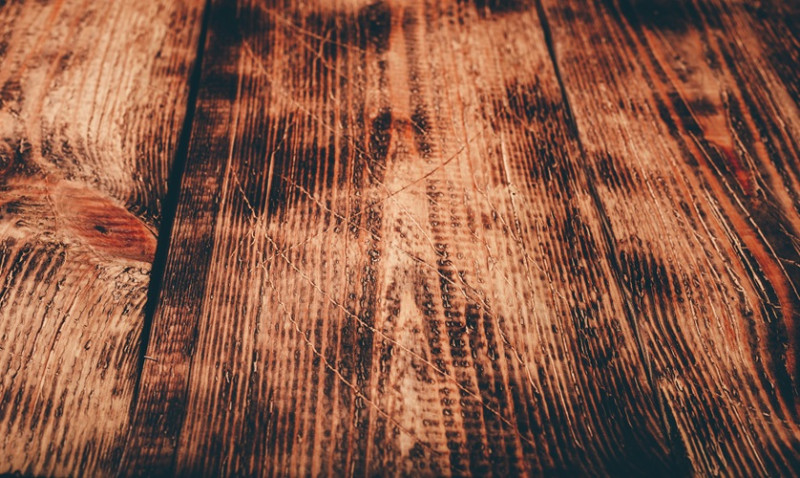
Wood floors add timeless beauty and warmth to any home or commercial space. However, they are not immune to wear and tear, especially when it comes to staining. Among the most stubborn of these are black stains, which can be both unsightly and damaging if left untreated. Whether you're a DIY enthusiast revamping a property, a designer guiding a client, or a skilled tradesperson restoring a floor to its former glory, understanding the causes, creation, and removal of black stains is key to preserving the integrity of your wooden floors. In this post, we’ll explore how black stains form, how one might intentionally recreate them for design purposes, and, most importantly, how to effectively remove them from your wood flooring.
What Causes Black Stains on Wood Floors?
Black stains on wood floors can be caused by several factors, with the most common being water damage, pet urine, mould, or chemical reactions. When moisture penetrates the wood grain—often through a scratch in the sealant—it can react with the wood's natural tannins and iron present in nails or fasteners, producing a dark or blackened area. Pet urine is a frequent culprit in domestic settings, especially if not cleaned promptly. Over time, the acidic compounds in the urine penetrate deep into the wood, resulting in those stubborn dark spots many homeowners dread.
Mould and mildew can also contribute to black staining, particularly in humid environments or unventilated areas. A leaky ceiling or plumbing issue near or above a wood floor can introduce moisture that encourages fungal growth—another reason why proper maintenance and quick response to spills or leaks is so vital.
Sometimes, black stains are the result of overuse or misuse of certain cleaning agents. Products with high alkaline or acidic content can interact negatively with wood or its finish, leading to discolouration. These chemical reactions can be particularly frustrating for new homeowners unaware of the previous maintenance history of the floor.
It’s essential to identify the underlying cause before treatment to ensure proper removal and to prevent recurrence. Start with a close inspection and try to correlate staining with known accidents (e.g., a pet incident or water leak) to determine the best remedial steps.
How to Create Black Stains for Decorative Purposes
While most homeowners strive to eliminate black stains, some interior designers and DIY decorators deliberately create them for an aged or rustic visual effect. Distressed and antiqued flooring can add character to modern interiors or complement reclaimed wood aesthetics.
Creating artificial black stains is usually done by applying certain staining techniques using products like iron acetate—a solution made by soaking steel wool in white vinegar for several days. When applied to tannin-rich wood species like oak, iron acetate reacts chemically with the wood to produce a dramatic black or dark grey finish. This is a popular method among DIYers and designers who want to add instant patina or vintage charm to new flooring samples or surfaces.
Burning or scorching techniques using blowtorches are also used in creating blackened effects. Called Shou Sugi Ban, a Japanese technique of charring wood, this method not only alters the colour but also can enhance the durability and water resistance of the wood. While artistic and effective, the technique demands care and skill to avoid damaging the wood or causing safety hazards.
For a more controlled appearance, commercially available wood stains in ebony or graphite tones are widely used. These stains penetrate less aggressively than chemical reactions or burning, making them ideal for projects where aesthetic precision is vital, such as architectural finishes or showroom setups.
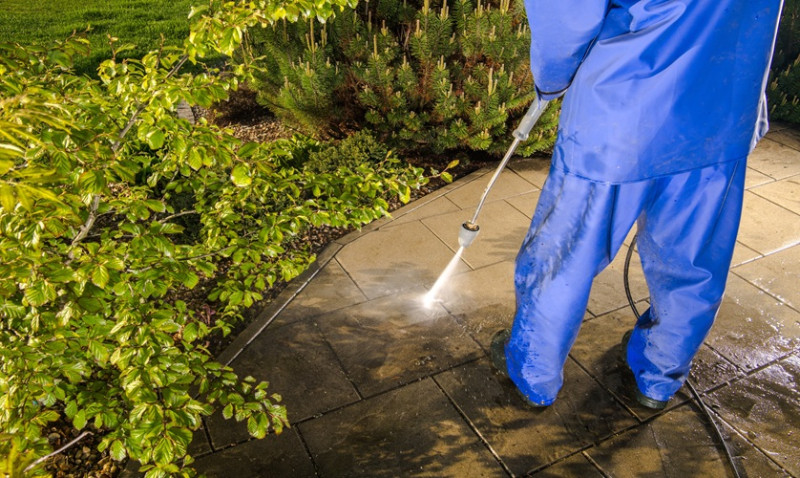
Best Methods for Removing Black Stains from Wood Floors
Removing black stains from wood flooring involves restoring the wood’s natural colour and texture without damaging its structure. There are several proven techniques, and the choice depends largely on the severity and depth of the stain.
For surface-level stains, a gentle sanding with fine-grit sandpaper (around 120–150 grit) might be all that's needed. Carefully sand the stained area until the discolouration fades, then reapply the appropriate finish or sealant. For deeper stains, especially those caused by pet urine or long-standing water damage, a more intensive approach is required.
Common Techniques for Stain Removal
| Method | Description | Best For |
|---|---|---|
| Hydrogen Peroxide | Soak a cloth in 3% hydrogen peroxide and place it on the stain for several hours. The peroxide oxidizes the stain and lightens it without bleaching the wood. | Pet urine, mildew, mild blackening |
| Oxalic Acid | A wood bleaching agent highly effective against iron stains or dark watermarks. Mix with warm water and apply carefully to the affected area. | Iron-based stains, water ring damage |
| Baking Soda Vinegar Paste | Create a paste with baking soda and vinegar; apply it to the stain. After drying, mop and gently sand if needed. | Light surface discolouration |
| Sanding & Refinishing | Full sand-down to bare wood followed by refinishing. Most labor-intensive but effective for deep-set or extensive staining. | Widespread dark staining, restoration projects |
It's important to neutralise any acids or alkalis used after stain removal. For example, after using oxalic acid, ensure you rinse the area with water and dry completely. Following this, you’ll want to re-seal or refinish the wood to protect against future staining. Always test chemicals on a small inconspicuous area first, especially if working on a floor sample rather than the complete floor, to avoid unexpected damage or colour changes.
If you're dealing with a particularly valuable or historic wood floor, consult a restoration specialist before attempting aggressive treatments, especially those involving chemicals or tools. In many cases, what appears to be a permanent stain can be subdued or removed entirely without resurfacing the entire floor.
Preventing Future Black Stains
Once you’ve gone through the effort of removing black stains or restoring wood flooring, prevention is the next essential step. Start by sealing the wood properly using a high-quality polyurethane or natural oil finish. This barrier helps to block moisture and acids from penetrating the surface.
For homes with pets or young children, addressing spills or accidents immediately will significantly reduce the risk of staining. Use a damp cloth (never soaking wet) to clean, then wipe dry. Avoid harsh chemicals or abrasive cleaning pads that can scratch the finish and expose raw wood.
Consider placing mats or rugs near high-traffic areas and entryways, especially during rainy seasons in the UK. Regular cleaning with wood-safe products and maintenance checks (looking out for signs of sealant wear or scratches) will go a long way in preserving your floor’s appearance.
Interior designers and tradespeople can also help their clients by educating them about suitable finishes for specific interior uses, particularly in rooms like kitchens, bathrooms, and hallways where moisture exposure is likely higher.
Conclusion
Whether you're experimenting with staining for artistic flair or reversing years of damage, managing black stains on wood flooring is highly achievable with the right techniques. It's all about understanding the root causes, selecting appropriate treatments, and applying preventative measures continuously. At the heart of every successful floor project—whether in a modern urban flat, a listed building, or a stylish new build in the UK—are informed decisions about how wood is treated, maintained, and restored.
From DIY lovers and first-time homebuyers to architects and seasoned tradesmen, learning how to create and remove black stains opens up a world of design possibilities and refinement. Protect your investment and enhance your space with knowledge and care—and let your floors tell a story of beauty, not neglect.

Trending articles